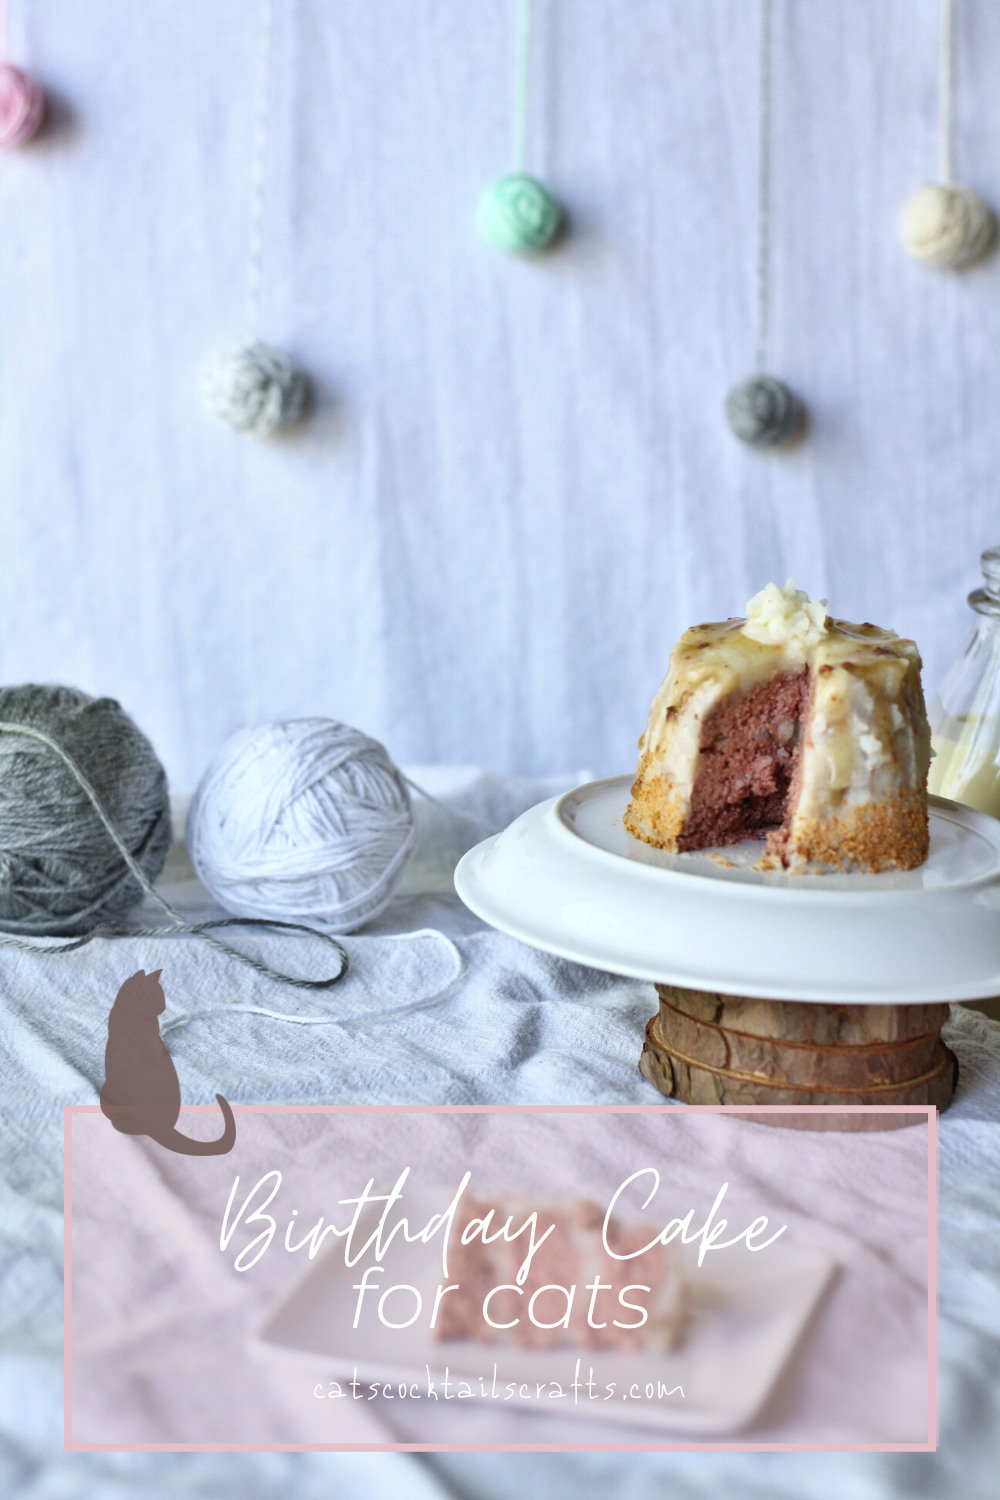
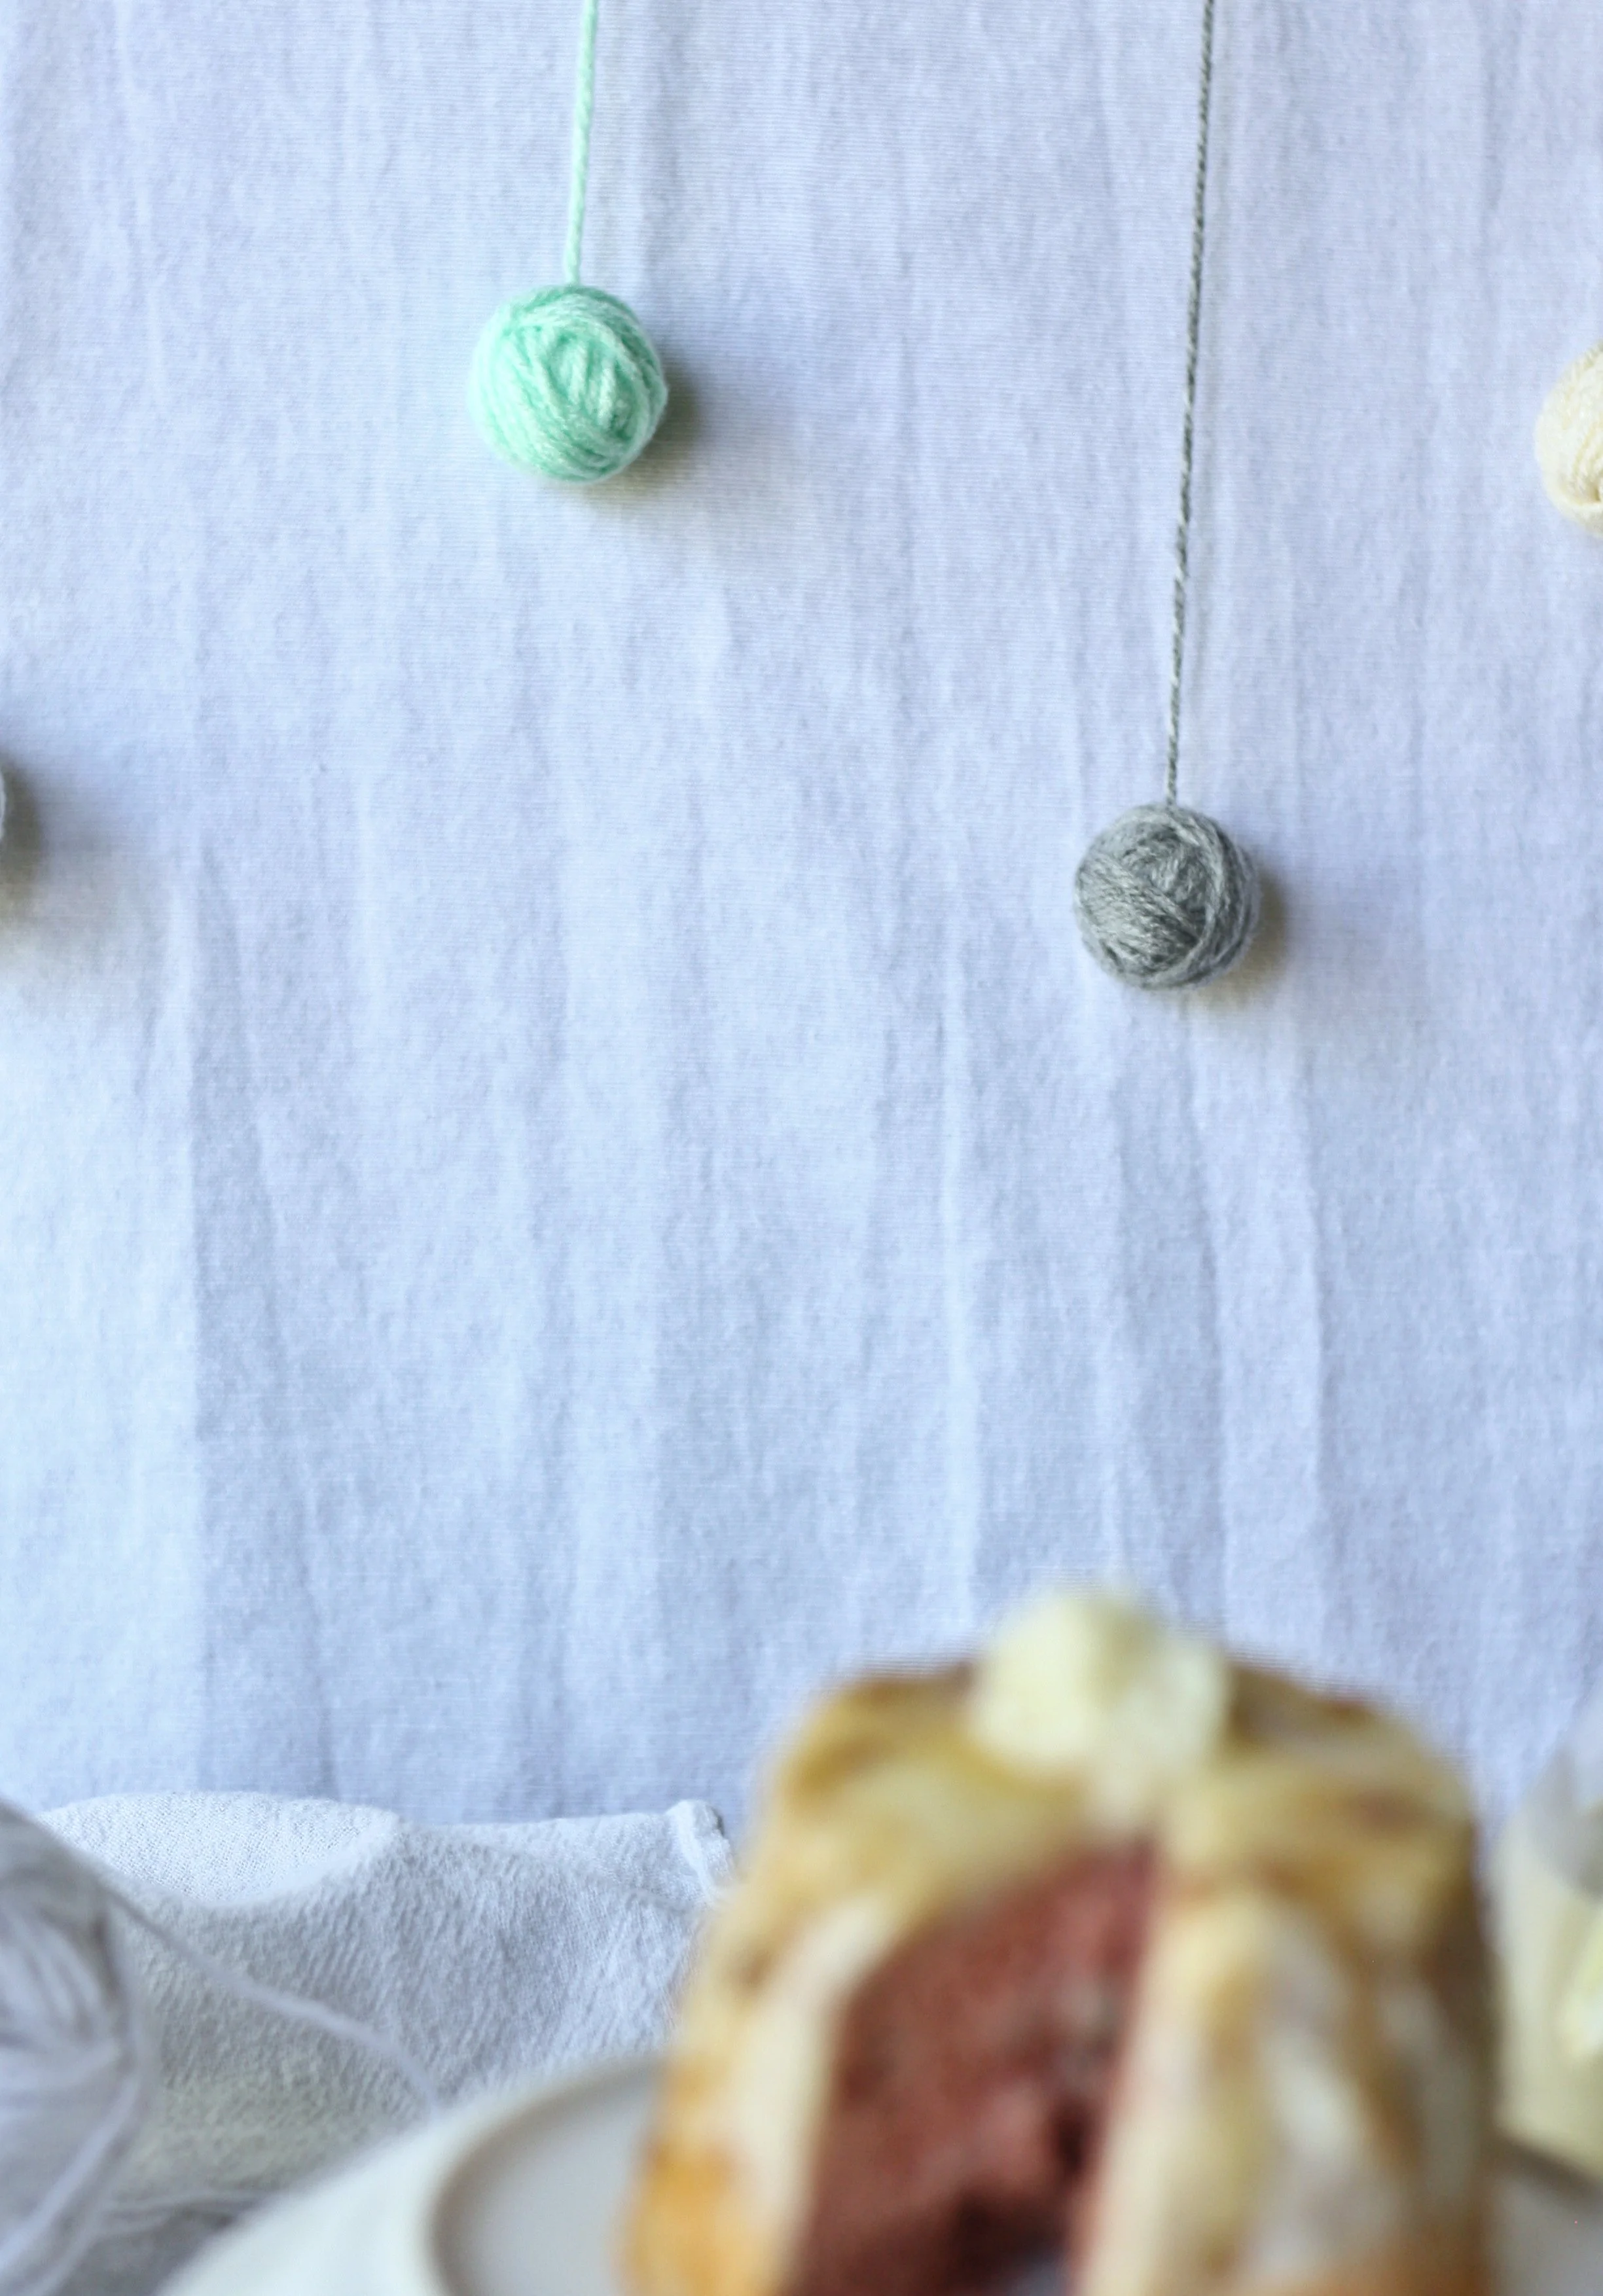
Birthday Cake for Cats
This cat-friendly cake recipe uses mostly foods they already enjoy, keeping them safe and ensuring they’ll love this special birthday treat.
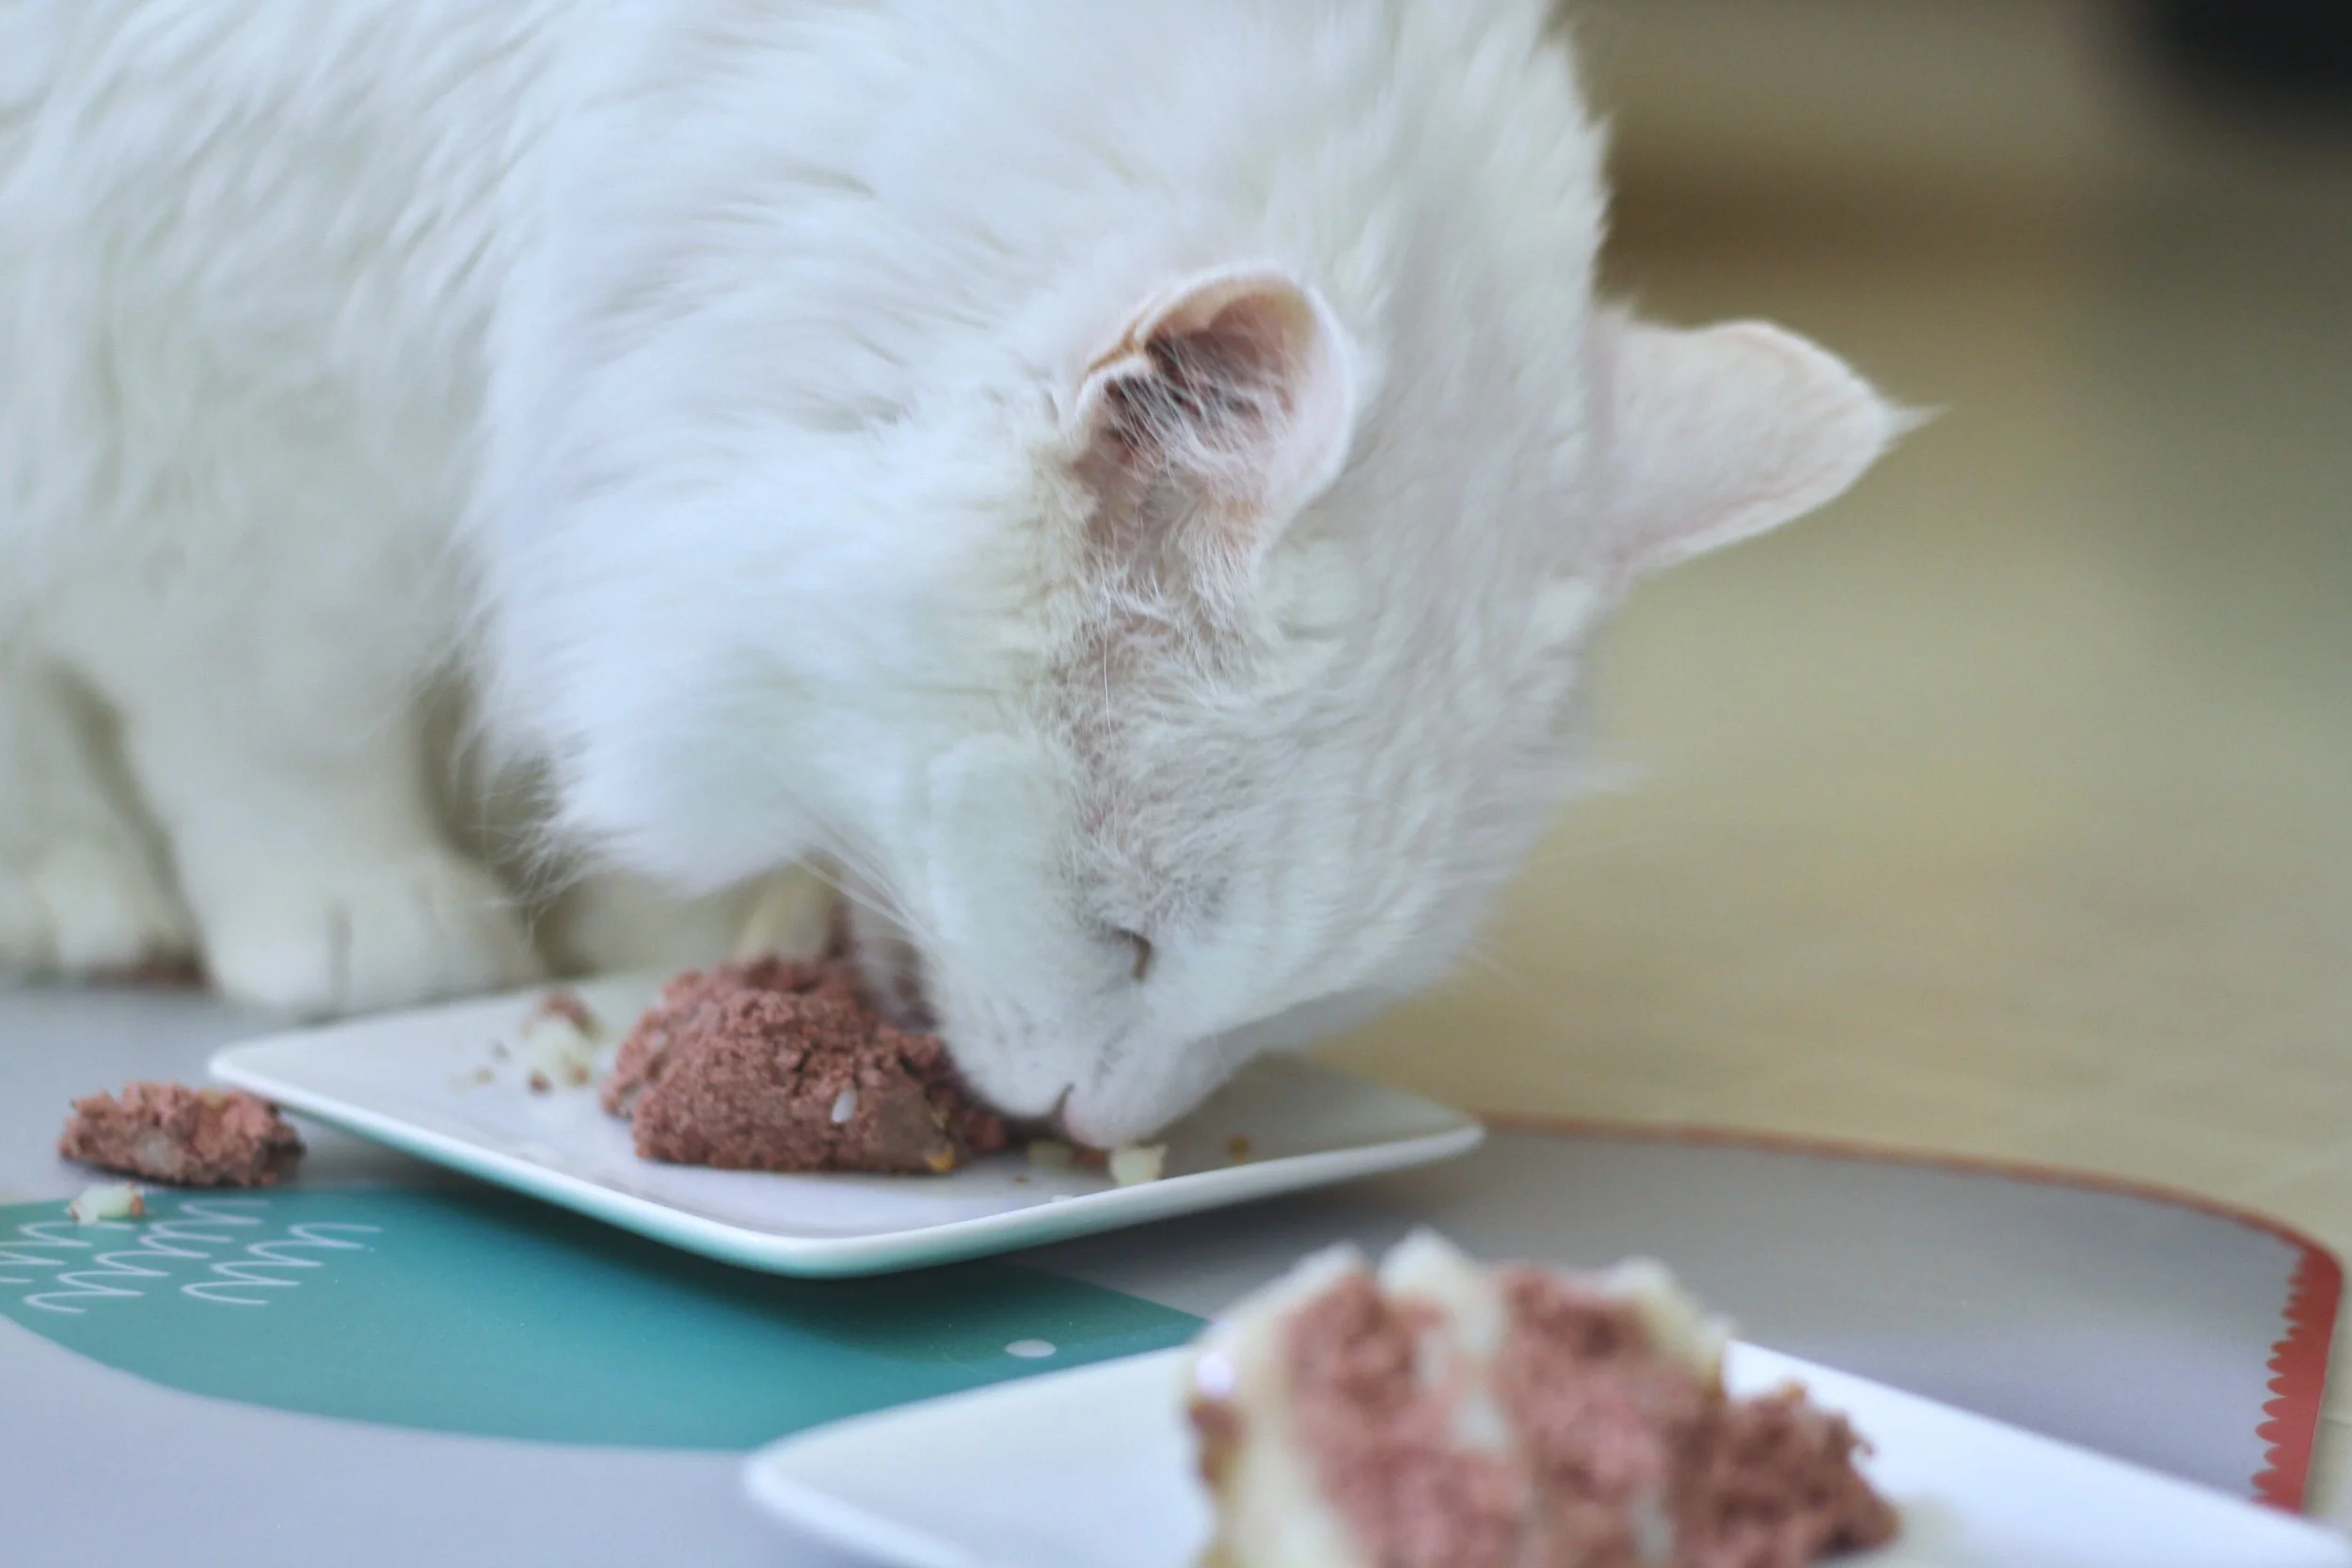
Hello to my favorite foodies! This past week my oldest cat, Katya, turned 10! I decided to make her a cake for the occasion. In my research for a recipe online, I found far too many that have flour in them, which doesn't work for my cats. Cats are creatures of system and habit, and Katya especially has a sensitive stomach, so I didn't want to introduce too many new ingredients. While I created this with cats in mind, this cake can easily be for dogs as well!
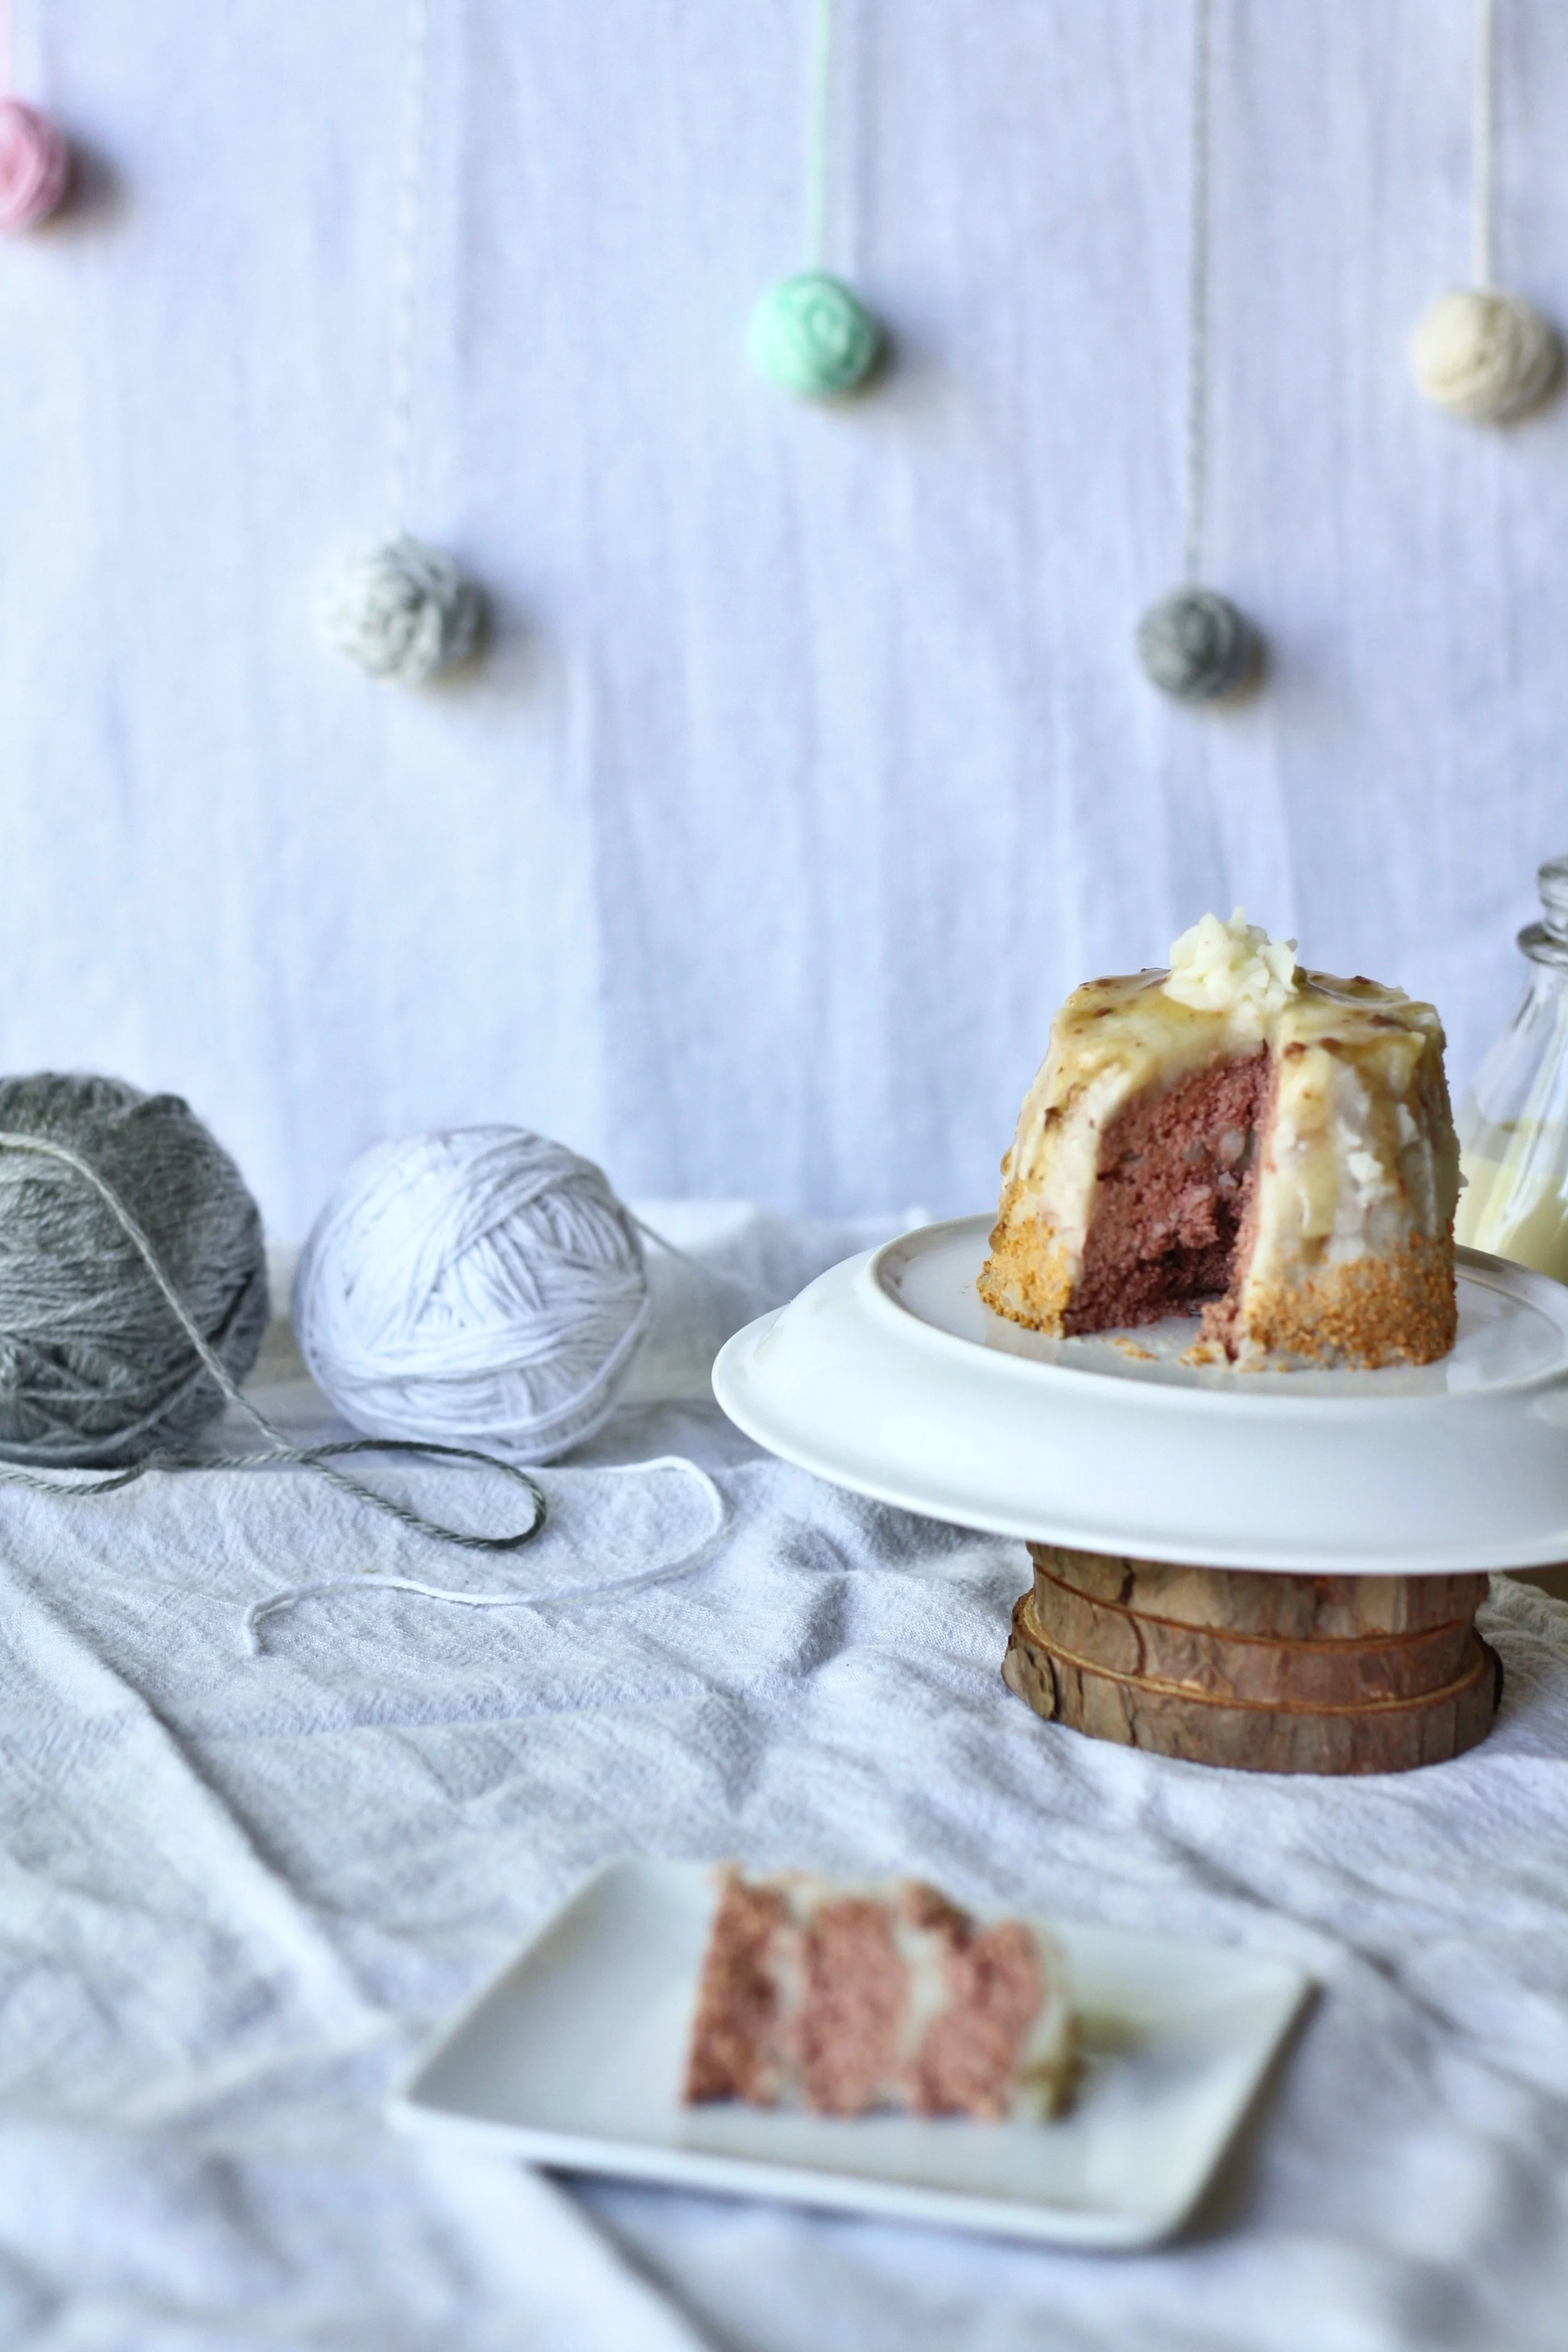
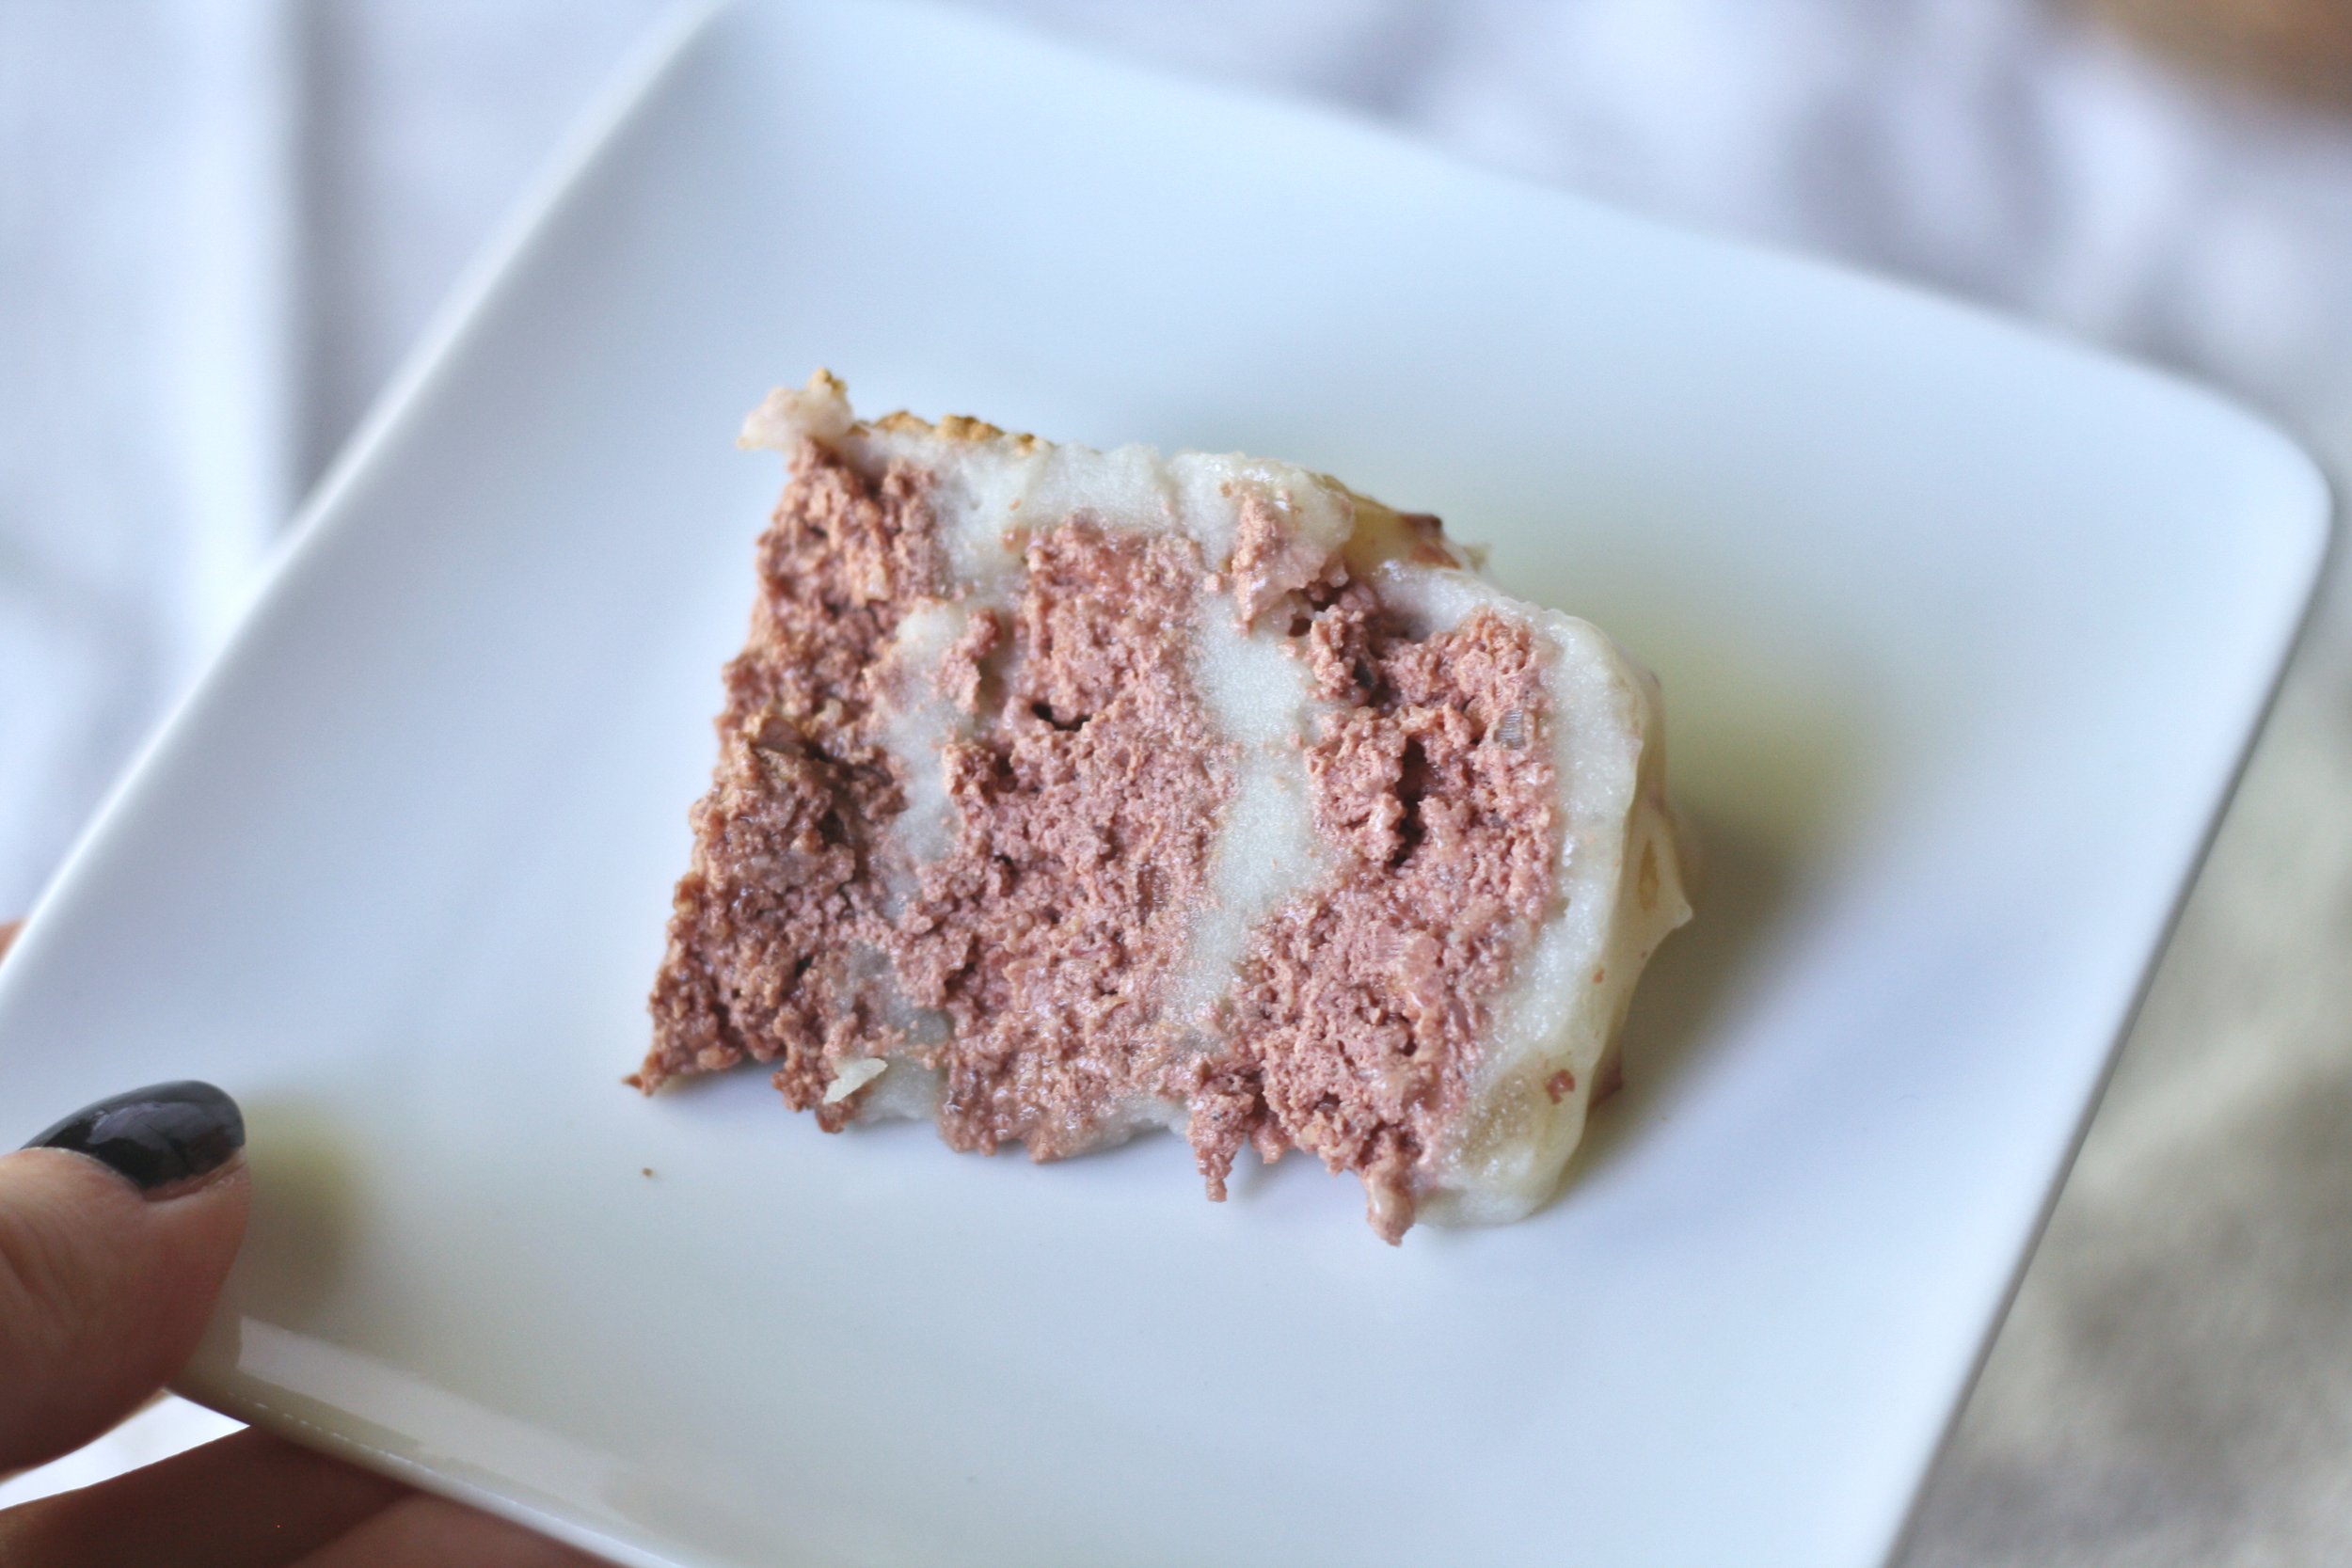
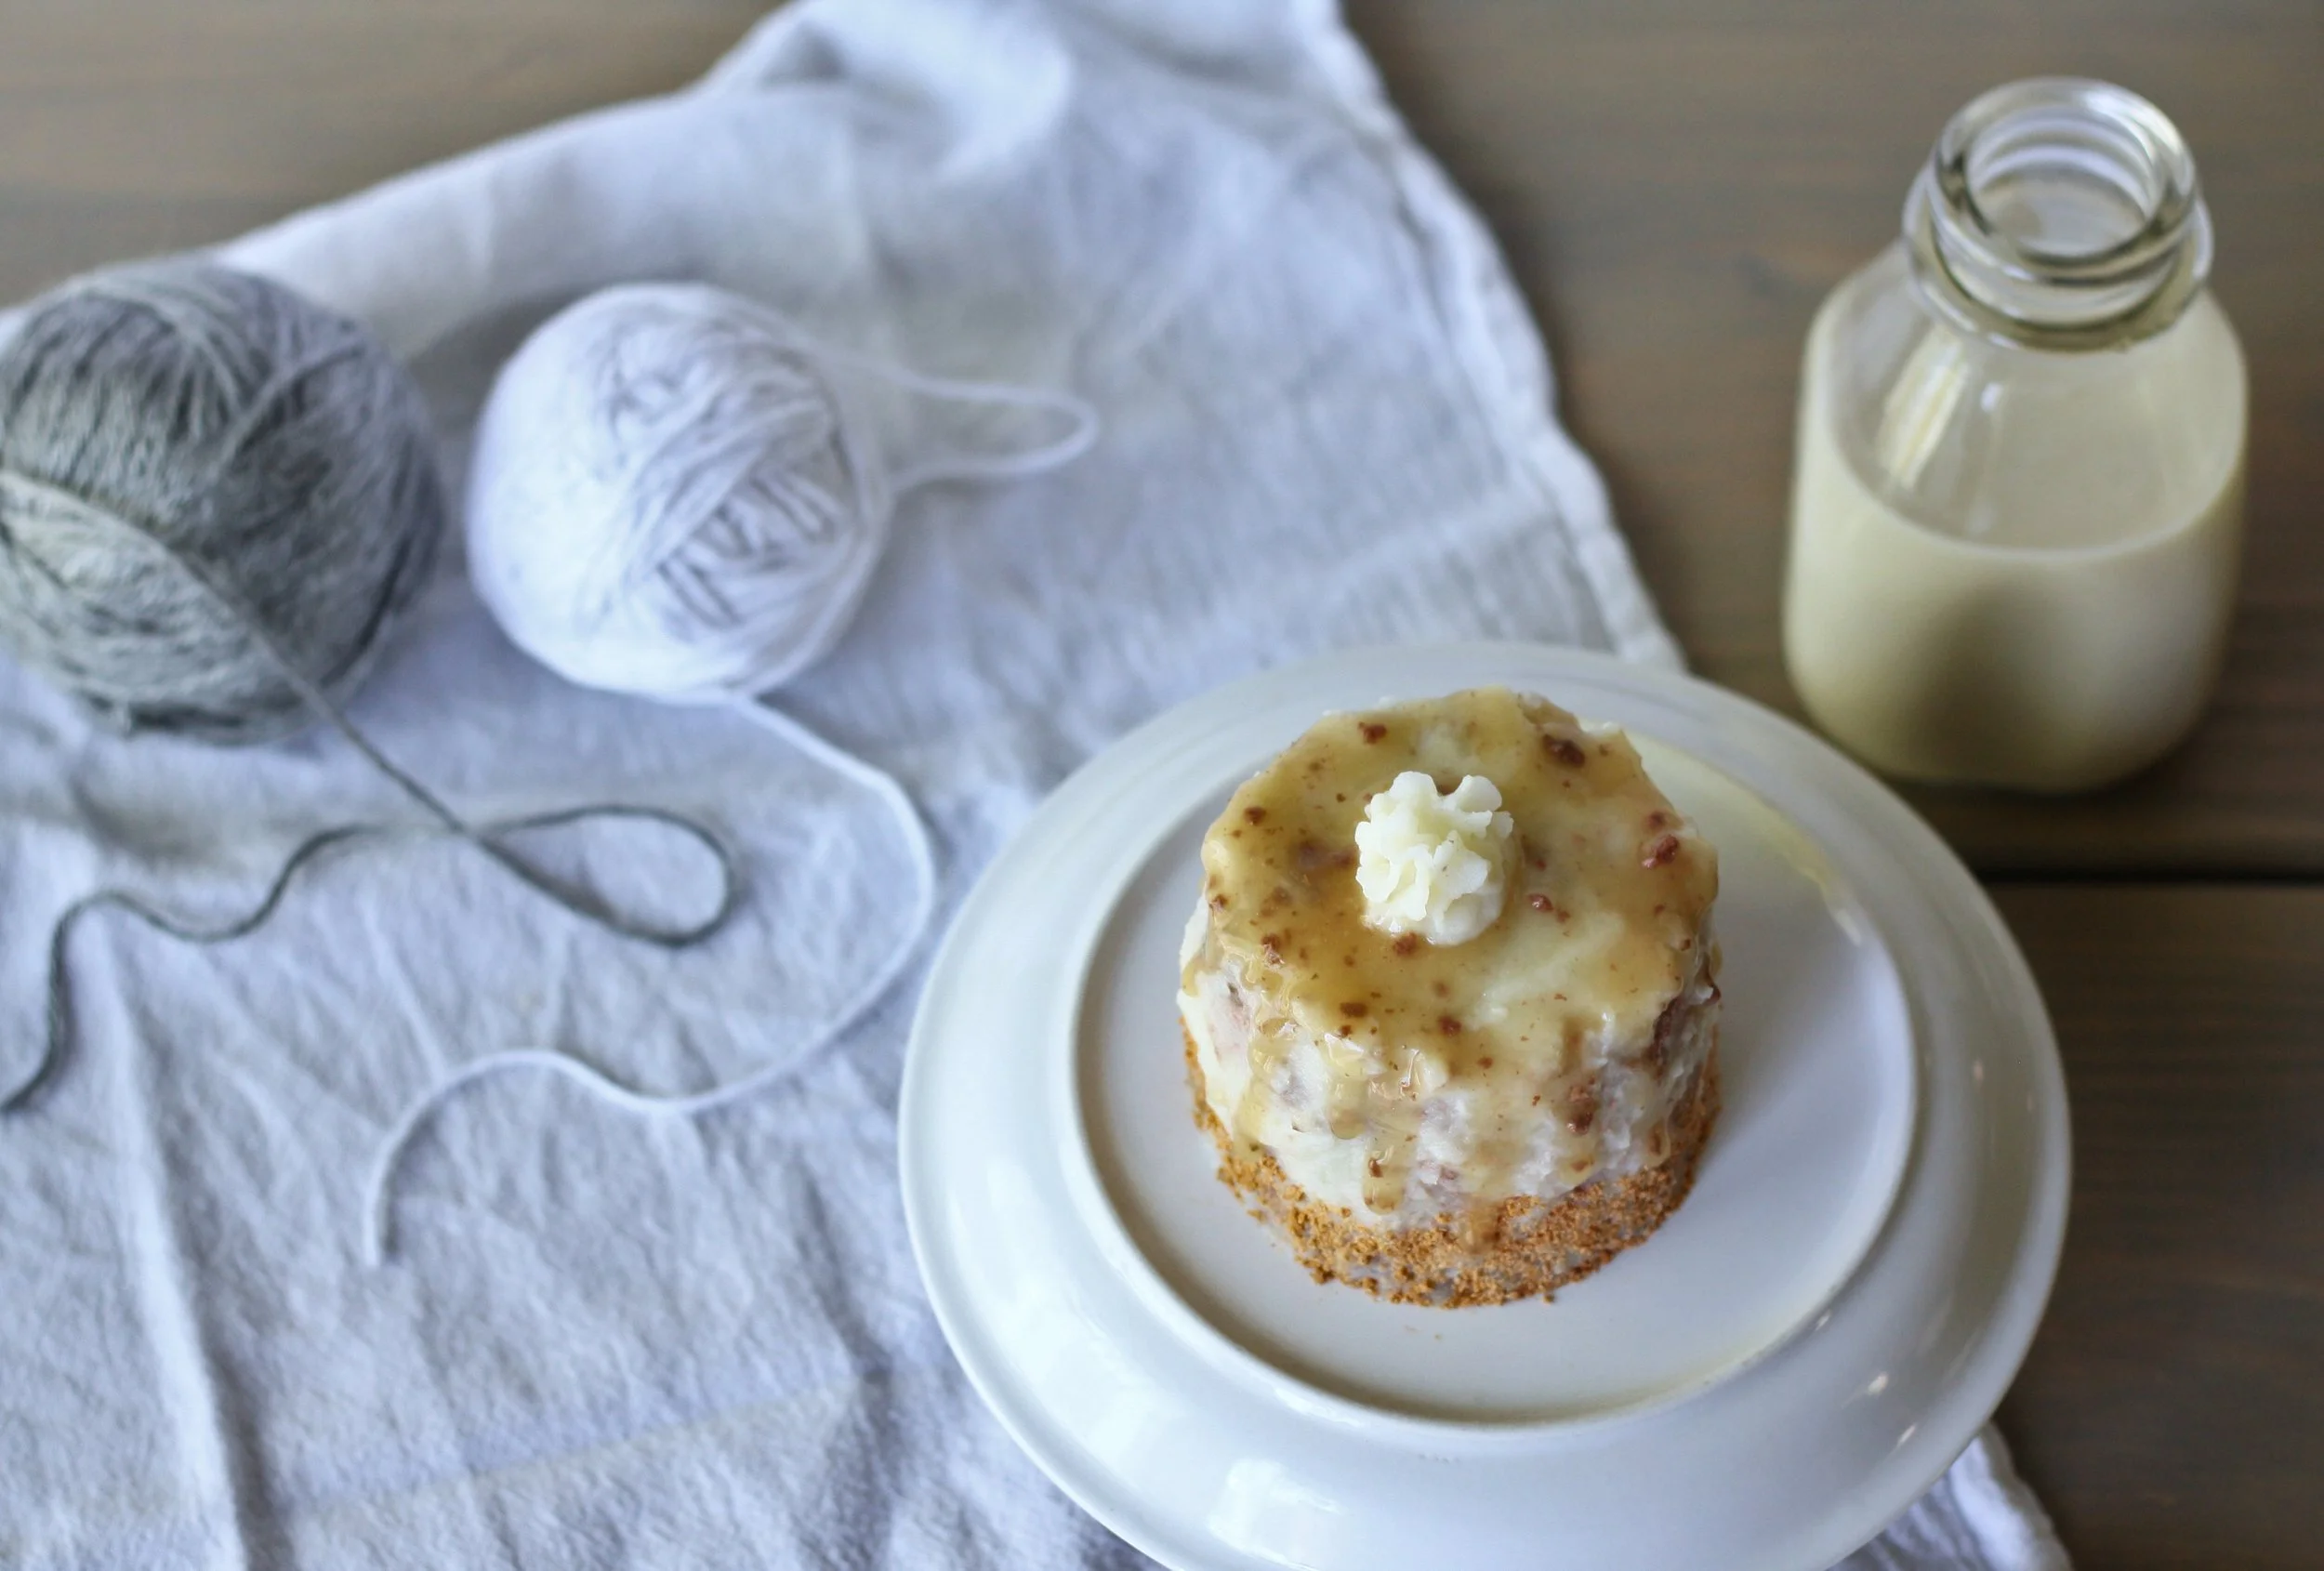
I decided to make a cake using the canned food they already eat. I drew up a design using a real cake I found online as inspiration. I decided to do their canned pâté for the "sponge cake" part, mashed potatoes for the "frosting," a pouch of cat food that had lots of gravy turned into a drip decoration, and crushed up cat treats decorated the bottom.
Side note, I'm looking for a better brand to feed them now that we're stateside again and have more options! Drop a comment if you've had good experiences with some grain-free cat food.
The results were time-consuming, but gorgeous! If you'd like to make one for your favorite felines, then read on. Be sure to Pin or bookmark it so you can find it later!
A note of warning and disclaimer: please check with your veterinarian before making your own pet food to ensure proper nutrition and dietary needs are fulfilled. This cake is intended to be a special occasion treat, not a regular meal.
Pâté "Sponge Cake"
The cake is essentially just meat patties. I have 3 cats and wanted to make it big enough to photograph, so I ended up using one and a half 5.5oz cans of pâté to make 3 cake layers. They normally split 1 can between the 3 of them for dinner, in addition to their dry kibble, so I figured there'd be leftovers.
Method:
Take some plastic wrap and place it roughly inside of a ramekin or circle biscuit cutter--you're just using this to shape the patty before wrapping it up.
If you're using the same size cans, use 1/2 of a can per patty.
Use a fork or spoon to spread the pâté evenly to all the edges. Carefully lift the patty up with the plastic wrap. Fold over the sides and gently shape, patting it to smooth out any rough lines or gaps. Repeat for remaining patties.
Store in the refrigerator for 3+ hours to help solidify to make them easier to assemble.
Mashed Potato "Frosting"
First of all, these shouldn't be instant potatoes. I want to be able to control what ingredients are going into this. Secondly, there are a lot of cats that are lactose intolerant. Please be careful if you aren't sure if yours are! Don't give them milk alternatives until you've done your research on which ones they can have. Cats shouldn't have potatoes in large quantities and NEVER raw (toxic!). Lastly, cats shouldn't have salt and most spices, so I'll be skipping those.
Ingredients:
1 small white potato (alternative: sweet potato)
1/2 Tablespoon unsalted butter
Splash of half and half (alternative: water or an unsalted bone broth)
Method:
Boil a small pot of water. Peel potato and cut into cubes, then add it to the boiling water.
Cook for about 15 minutes, until you can stab a piece with a fork and it easily slides off.
Take out about 1/4 cup of the starchy water and set aside. Drain potatoes.
Return potatoes to pan and mash. You can use a fork if you don't have a potato masher.
Add in butter and half and half and combine. If needed, add reserved potato water a teaspoon at a time until the desired consistency is achieved. (Think smooth enough to spread, but not runny.)
Place in a small leftover container and store in refrigerator until ready to use.
Assembly
Time for the magic! I assembled mine on a small plate turned upside-down. Use what you have!
Add the first cake meat patty to the center. Add a small dollop of mashed potatoes and spread across the top. Add the next patty and repeat for remaining layers. After you've added the last patty and frosted the top, it's time to start on the edges. This is where it gets tricky. There's a good chance you'll start pulling off some of the patty, so be gentle and go slow.
Let's do the treat crumbs next! If you haven't already, go ahead and chop up a few treats. Use whatever their favorite is. I found the best method for attaching them to the side was to press my finger into the treat crumbs, then gently press them into the side of the cake. Just go around the bottom edge until you're happy with it. Don't be afraid to pull up photos for reference!
Time for the gravy drip. The food I'm using is gravy with some meat bits in it, so I dumped it into a small bowl so I could scoop out just the gravy. Use a small spoon and carefully spoon gravy on top of cake. You want to cover the top of the cake, then have little drips coming down the sides. What worked best for me was to start a drip off my spoon and line it up with where I wanted it on the cake. You could try using something smaller like a chopstick. Play around with it!
Lastly I'm going to take a little bit of the mashed potatoes I had left and pipe it on top.

